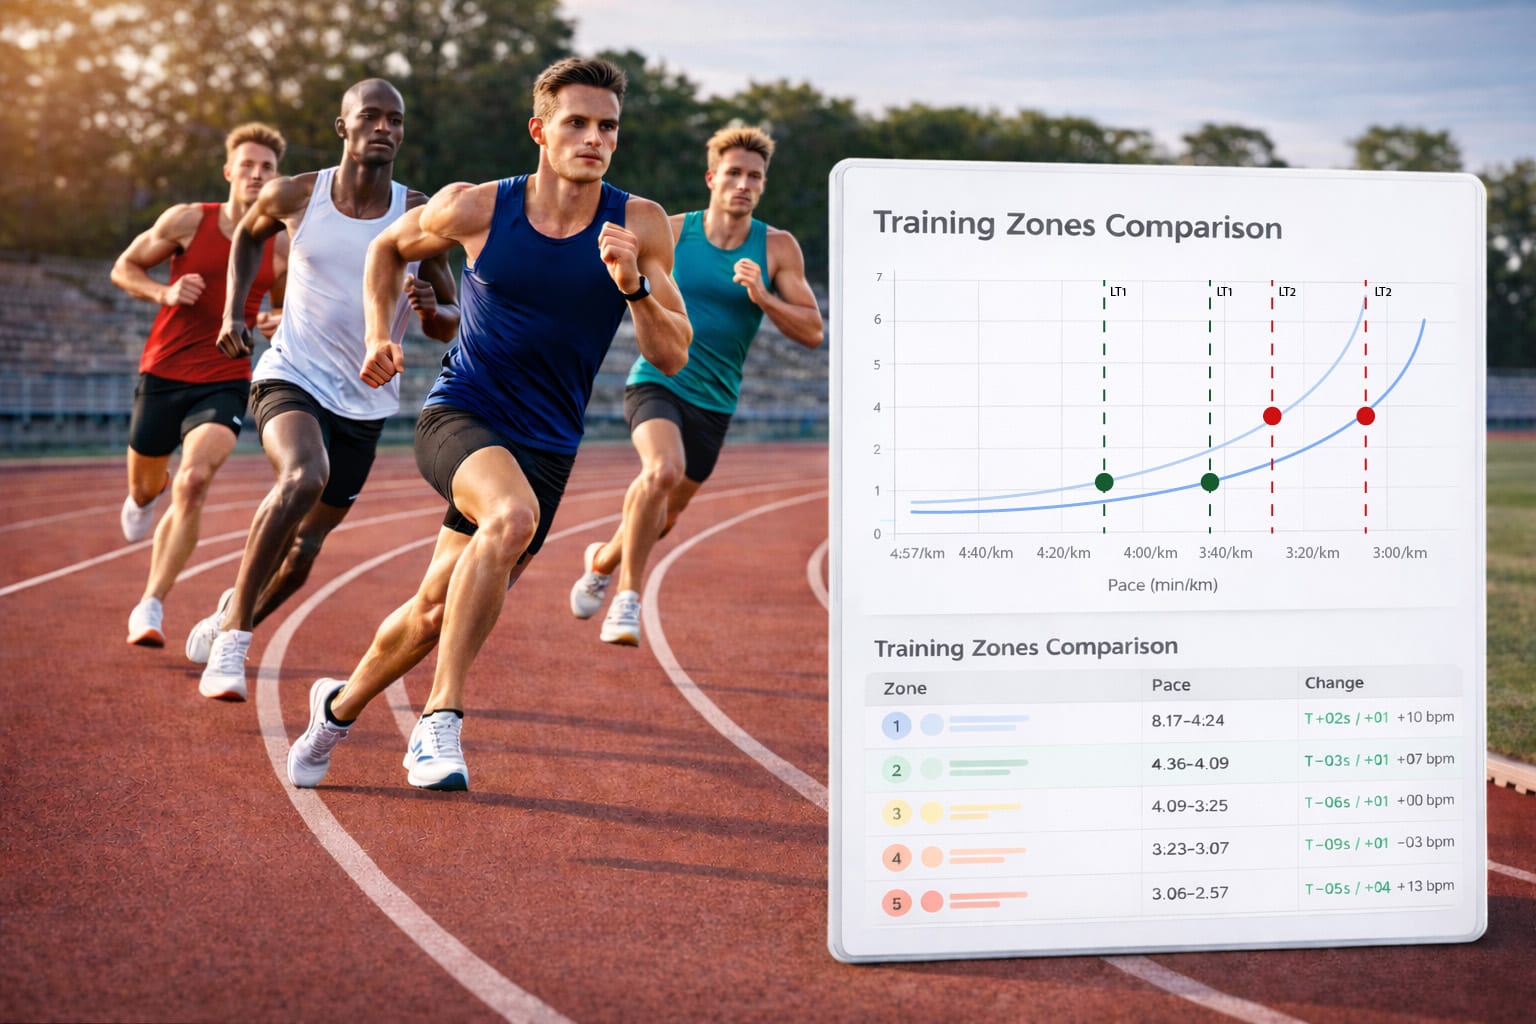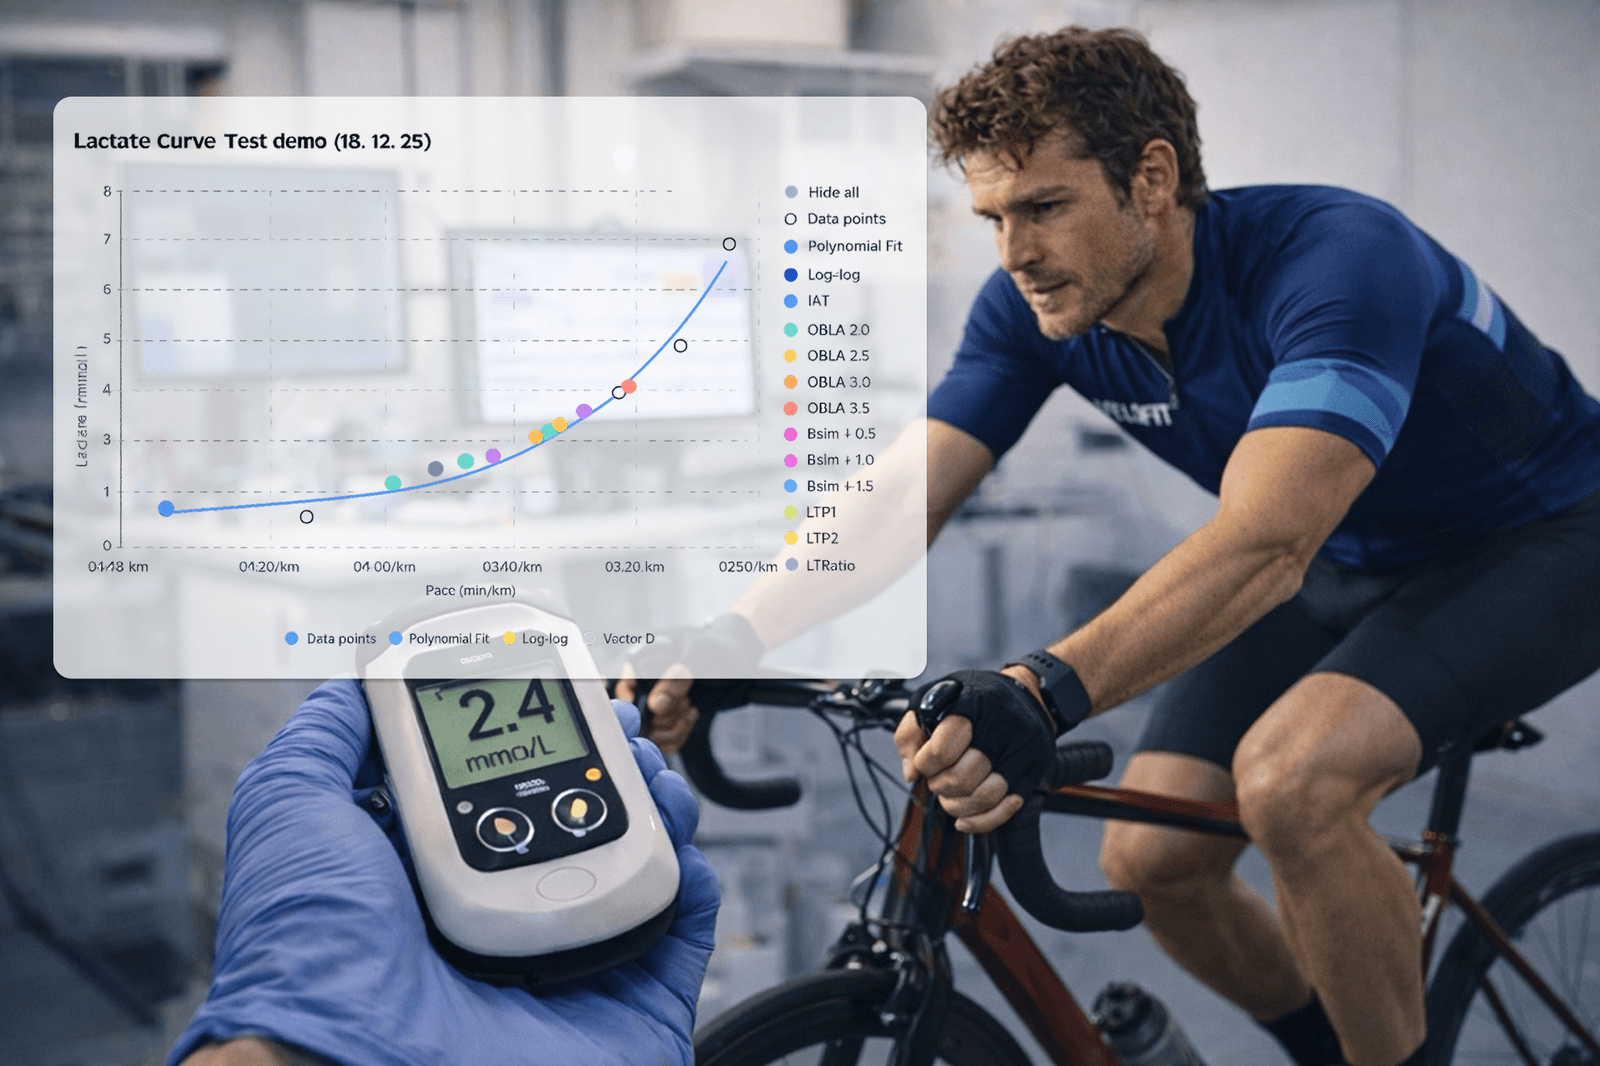
Five years ago, a full lactate threshold test meant booking a sport science lab, paying €150–€300, and getting the results back on a PDF a week later. Today you can get the same data — sometimes better data, because you control the conditions — on your own bike trainer or treadmill for the price of a single lab session, and you keep the analyzer forever.
This guide assumes zero prior lab experience. By the end you will know exactly what to buy, how to run the test without messing up the data, and how to read the curve well enough to set training zones the next day.
What you actually need
You can skip half of what online tutorials sell you. Here is the minimum viable home lab:
- A portable blood lactate analyzer. Three reasonable options: Lactate Pro 2 (~$400, gold standard, used in most research), Lactate Plus (~$300, similar accuracy), orLactate Scout 4 (~$330, Bluetooth-enabled). All three give readings within ±0.2 mmol/L of each other. Avoid the ultra-cheap Amazon clones — the calibration drifts after a few months.
- Test strips for that specific analyzer — ~$1.20–$1.80 per strip. You will use 6–9 per test plus 2 for safety, so budget ~$15 per test.
- Lancets (the spring-loaded finger-prick devices used for blood glucose) — cheap, ~$0.20 each, 10-pack at any pharmacy.
- Alcohol wipes + cotton pads + small bandages.
- An indoor trainer with power meter (for cyclists) or atreadmill with accurate speed display (for runners). Outdoor tests are possible but a controlled environment removes a huge source of error — wind, gradient, traffic stops.
- A heart-rate strap. Optional but recommended — HR adds a second variable to plot against lactate and helps spot bad samples.
- Software to crunch the numbers. Pen and paper works, but you want to fit a polynomial curve and apply ~6 different threshold detection methods. Free tools like our own LaChart lactate calculator do all of that automatically.
Pick a protocol that matches your goal
A "lactate test" isn't one thing — it's a family of step protocols. The right one depends on what you want to find:
| Protocol | Step length | Step size | Best for |
|---|---|---|---|
| Short (Mader-style) | 3 min | +25–30 W / +0:15 min/km | Fast screen, comfortable |
| Standard (most labs) | 4 min | +20–25 W / +0:15 min/km | Best LT1/LT2 accuracy |
| Long (steady-state) | 6–8 min | +15–20 W | MLSS estimation |
| Ramp + finisher | 1 min ramp + 4 min anchor | +15 W per minute | Time-strapped athletes |
For your first test pick the standard 4-minute step. It's the protocol most published research uses (so your numbers are comparable to anything you read about), and 4 min is long enough for lactate to catch up to the intensity without being so long the test takes 90 min.
Designing your starting power / pace
Start two zones below your current threshold. So if your best guess at FTP is 280 W, start at ~150 W. The whole first half of the test should feel embarrassingly easy — that's the point. You're sampling the low-end of the curve where the slope is nearly flat. Skip the easy stages and you have no anchor for the baseline.
- Cyclists: 8–10 stages, +25 W each. End around 110–115 % of FTP.
- Runners: 7–9 stages, +0:15 min/km each. End at your 5 km race pace or slightly faster.
- Last stage should feel like RPE 9/10. If you can do another step, the test ends too early and the D-max method will under-shoot LT2.
The actual test — minute by minute
15 minutes before
- Calibrate the analyzer with the code strip from your strip pack.
- Lay out everything within arm's reach of the bike / treadmill: strips, lancets, wipes, a timer, and a notebook (or laptop with the LaChart calculator open).
- Take a resting lactate sample — sit still, fully relaxed, prick a finger. Typical reading: 0.6–1.5 mmol/L. This is your baseline; values below baseline + 1.0 mmol/L are aerobic.
Warm-up (10 minutes)
Easy spin / jog at ~50 % of your guessed FTP. Don't do strides or hard accelerations — they spike lactate and corrupt your first reading.
Each stage (×8 or 9)
The 4-minute pattern, repeated:
- Minutes 0:00 – 3:30: Hold the target power / pace exactly. If it's a trainer in ERG mode this is automatic; on a treadmill, just set the speed and don't touch it.
- Minute 3:30: Wipe a finger with alcohol. Don't prick yet — alcohol can dilute the sample and skew the reading low.
- Minute 3:50: Prick the finger. Discard the first drop with a cotton pad (it has tissue fluid in it). The second drop is what you measure.
- Minute 4:00: Touch the test strip to the drop and immediately ramp the trainer/treadmill to the next stage. Lactate reading appears in 10–15 s — write it down with the stage power, time, HR, and RPE.
Don't pause between stages. The whole test runs continuously. If you pause, lactate clears and your next reading is artificially low.
Cool-down + max sample
Right after the last stage, take one final sample at the 3-minute mark of cool-down — that's typically your peak lactate and it tightens the upper end of the D-max calculation. Then easy spin for another 10 minutes.
The four mistakes that ruin a test
Every one of these has shown up in real tests I've reviewed. Each one is easy to avoid the second time, harder the first.
- Starting too hard. Lactate climbs immediately and you have no flat baseline. The curve becomes a straight line, no inflection, no LT1. Fix: start two zones below FTP, not one.
- Not discarding the first blood drop. Tissue fluid dilutes the sample by 20–30 %. Your readings come out 1–2 mmol low across the board, the curve looks normal but LT2 ends up 30 W too high. Fix: always wipe away the first drop.
- Sampling at minute 4:30 instead of 3:50–4:00. By 30 s after the stage ends, you've already started ramping into the next stage. The sample reflects the transition, not the steady state. Fix: sample within the LAST 30 s of every stage, at the same offset each time.
- Stopping before the last step is truly hard. If your peak lactate is 5 mmol/L, the D-max method under-shoots LT2 by 15–30 W because there's no "explosion" on the upper end of the curve. Fix: the last stage should hit at least 6–8 mmol/L, RPE 9–10.
Plug the numbers in
Once you have your stage power/pace + lactate + HR for every step, type them into the free LaChart calculator. It will:
- Fit a polynomial curve through your data.
- Apply ~6 different threshold-detection methods (D-max, Modified D-max, log-log, IAT, OBLA 2.0 / 4.0, baseline + delta) and take their median.
- Flag obviously bad data (non-monotonic input, explosive finish, sensor warm-up noise) so you know whether to trust the result.
- Spit out training zones based on your LT1 and LT2.
No signup required for a one-off test. If you want to save it, track progress over months, or push the resulting workouts to Garmin / Zwift / TrainerRoad, you can create a free account.
How often should you re-test?
For most amateur athletes: every 6–8 weeks during a structured training block. Often enough to catch real adaptation, infrequent enough that you're not measuring noise. Race-prep cycles may justify a test every 4 weeks; long base phases a test every 12.
Always re-test under the same conditions: same trainer/treadmill, similar time of day, same warm-up, same caffeine intake, same fed/ fasted state. Anything you change becomes a confounder.
What to do next
Run your first test this weekend with the standard 4-minute protocol. Plug the numbers into the free calculator — you'll have your LT1, LT2, and training zones inside 10 minutes of finishing the cool-down. Then check out our follow-up on reading your lactate curve step-by-step to understand what the shape of your curve actually means.
Got a test on your screen?
Try the free LaChart calculator — paste your stage data, get LT1, LT2, zones, and a downloadable PDF in 30 seconds. No signup.
Try free calculator →